How to Configure Product Usage Metrics in Settings
Reo.Dev provides flexibility to define and track custom product usage metrics using the Product API. This capability allows teams to set up highly relevant metrics that align with their business goals and developer engagement tracking. Here’s a step-by-step guide on configuring custom parameters and mapping intent levels in the Reo.Dev dashboard:
Step 1: Setting Up Custom Metrics

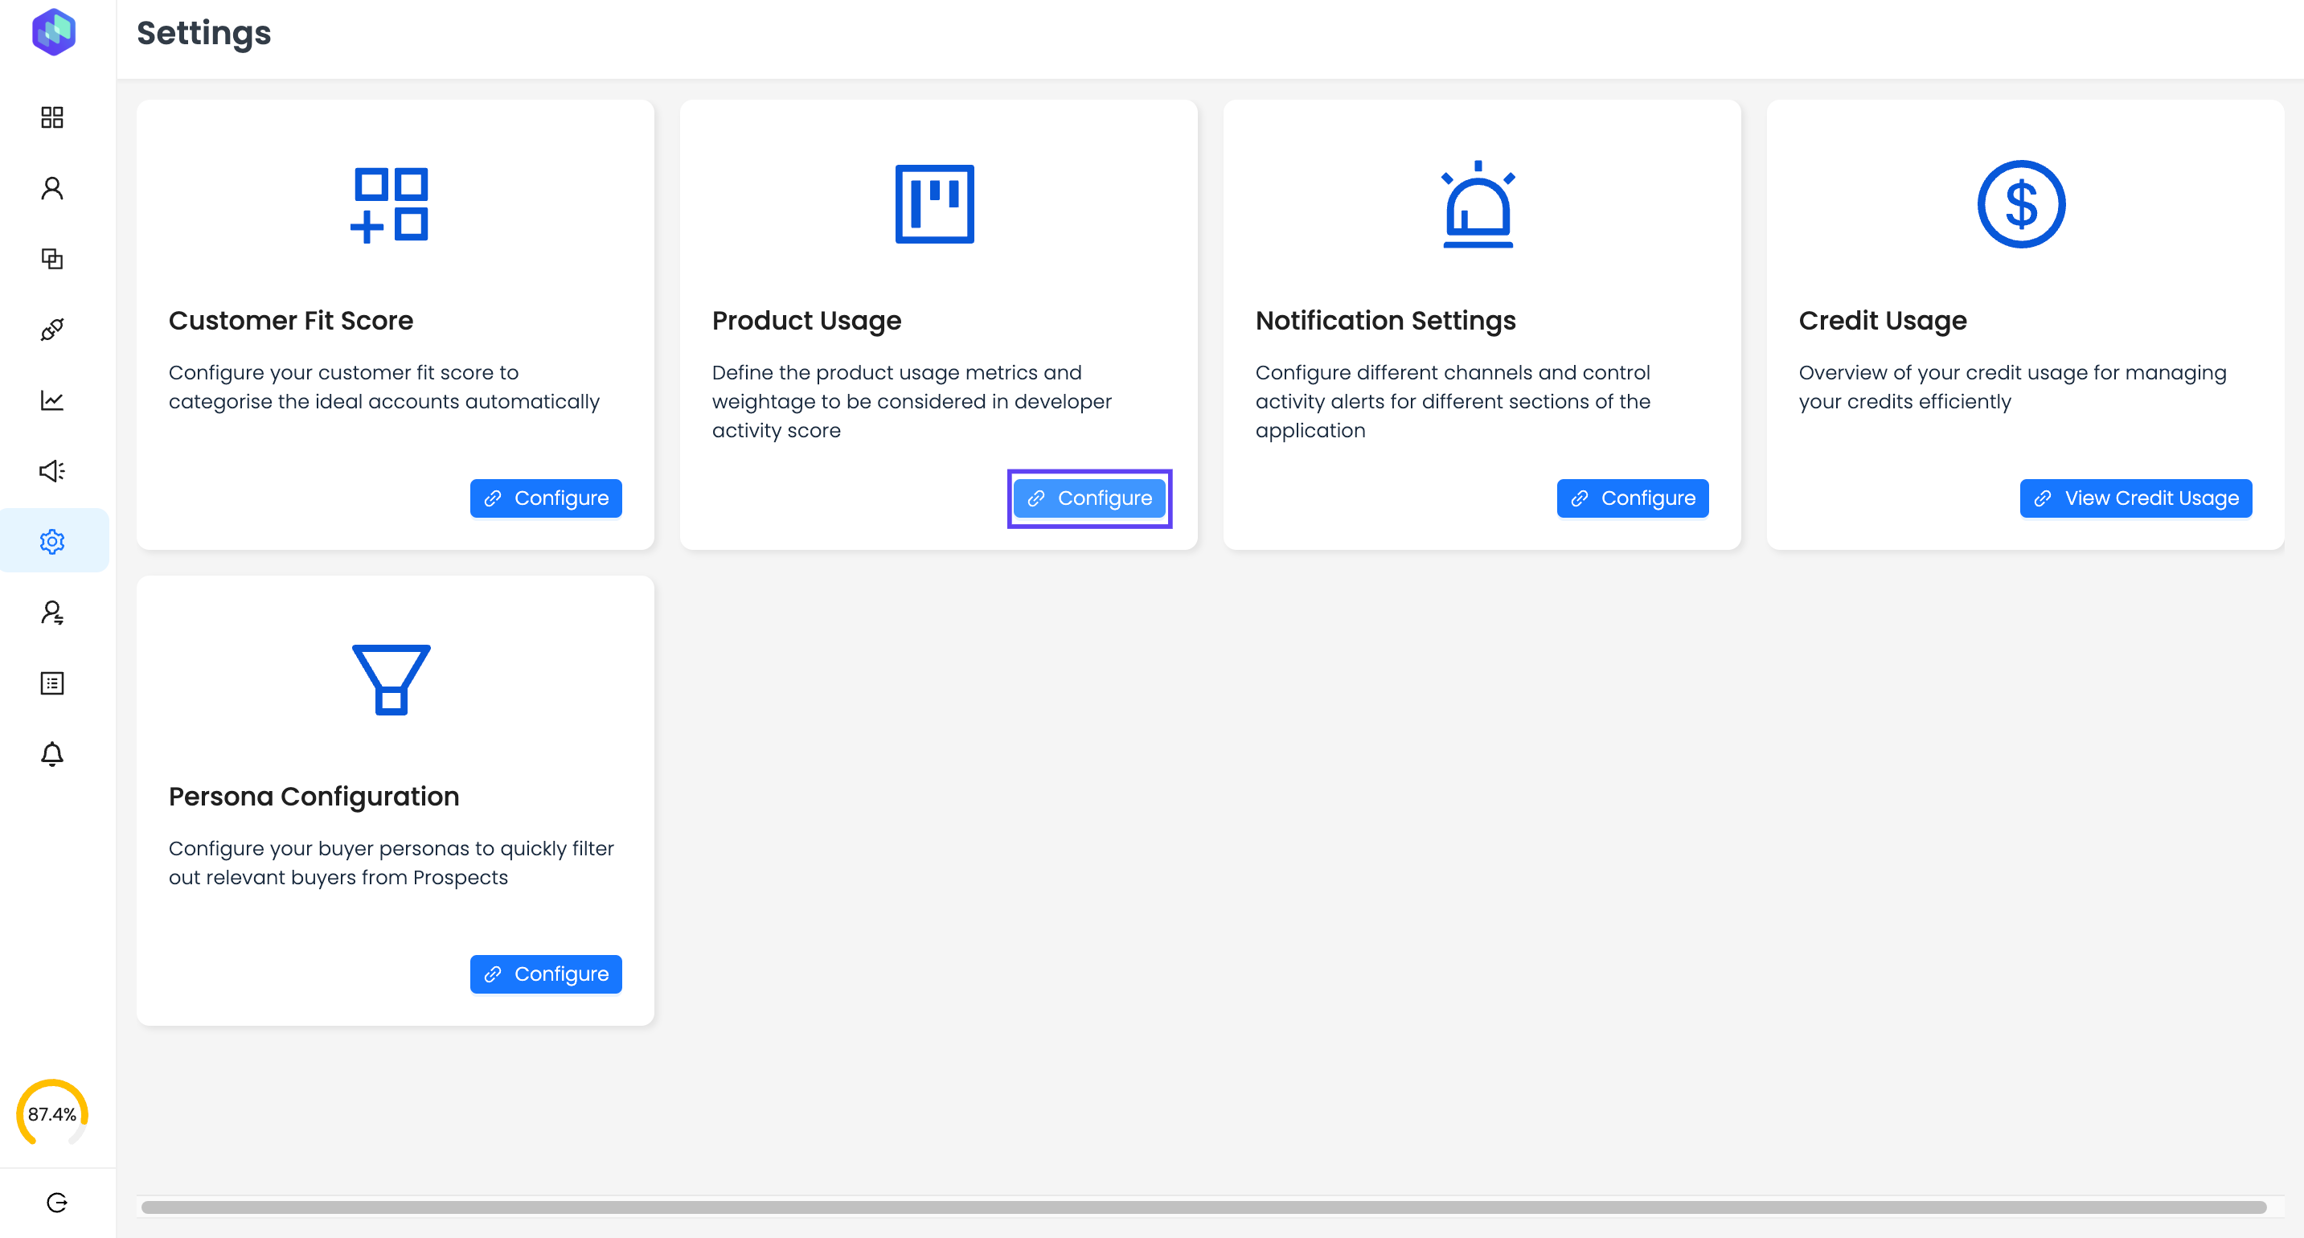
Navigate to the Settings tab and select Product Usage.
Define a Primary Metric (e.g.,
USER_PORTAL_SIGN-UP) and provide the Mode (Single/Aggregated) and Type i.eUser/Domain(for aggregated events).
Note:
Choose the single mode to send individual events
Choose the aggregate mode to send events in batch/periodically
For aggregate events - specify the type i.e Domain/User based on whether you want to send events at a domain (company) or user level.
Add your Secondary Metrics (e.g.,
MOBILE_APP_SIGN-UP,TRIAL_PLAN_ACTIVATION).

For Inspiration: Some popular products in various DevTool categories and their usage metrics are listed here.
Step 2: Assigning Weightage and Ranges
Each metric can be assigned a Weightage (High, Medium, Low) and a Range. These classifications help categorize developer interactions based on intent levels. Below are example ranges to illustrate how weightage can be mapped:
High Intent: Weightage = High, Range = 51–100
Medium Intent: Weightage = Medium, Range = 21–50
Low Intent: Weightage = Low, Range = 0–20
Note: These are sample ranges. You should configure ranges that align with your business goals and the nature of the specific metric being tracked. Ensure that the thresholds meaningfully represent the levels of intent relevant to your product or service.
Step 3: Passing Data via the Product API
Important: To effectively leverage Product Usage Metrics, ensure that the metrics are configured correctly in the Product Usage Settings. Once configured, these metrics need to be utilized in tandem with data sent via the Product API or Telemetry Data API to generate actionable insights. For further steps on passing the data, refer to the guides below:
These guides will walk you through setting up and sending data using our APIs, including sample payloads and best practices.
Step 4: Leveraging Metrics in Account/Developer Activity Timeline
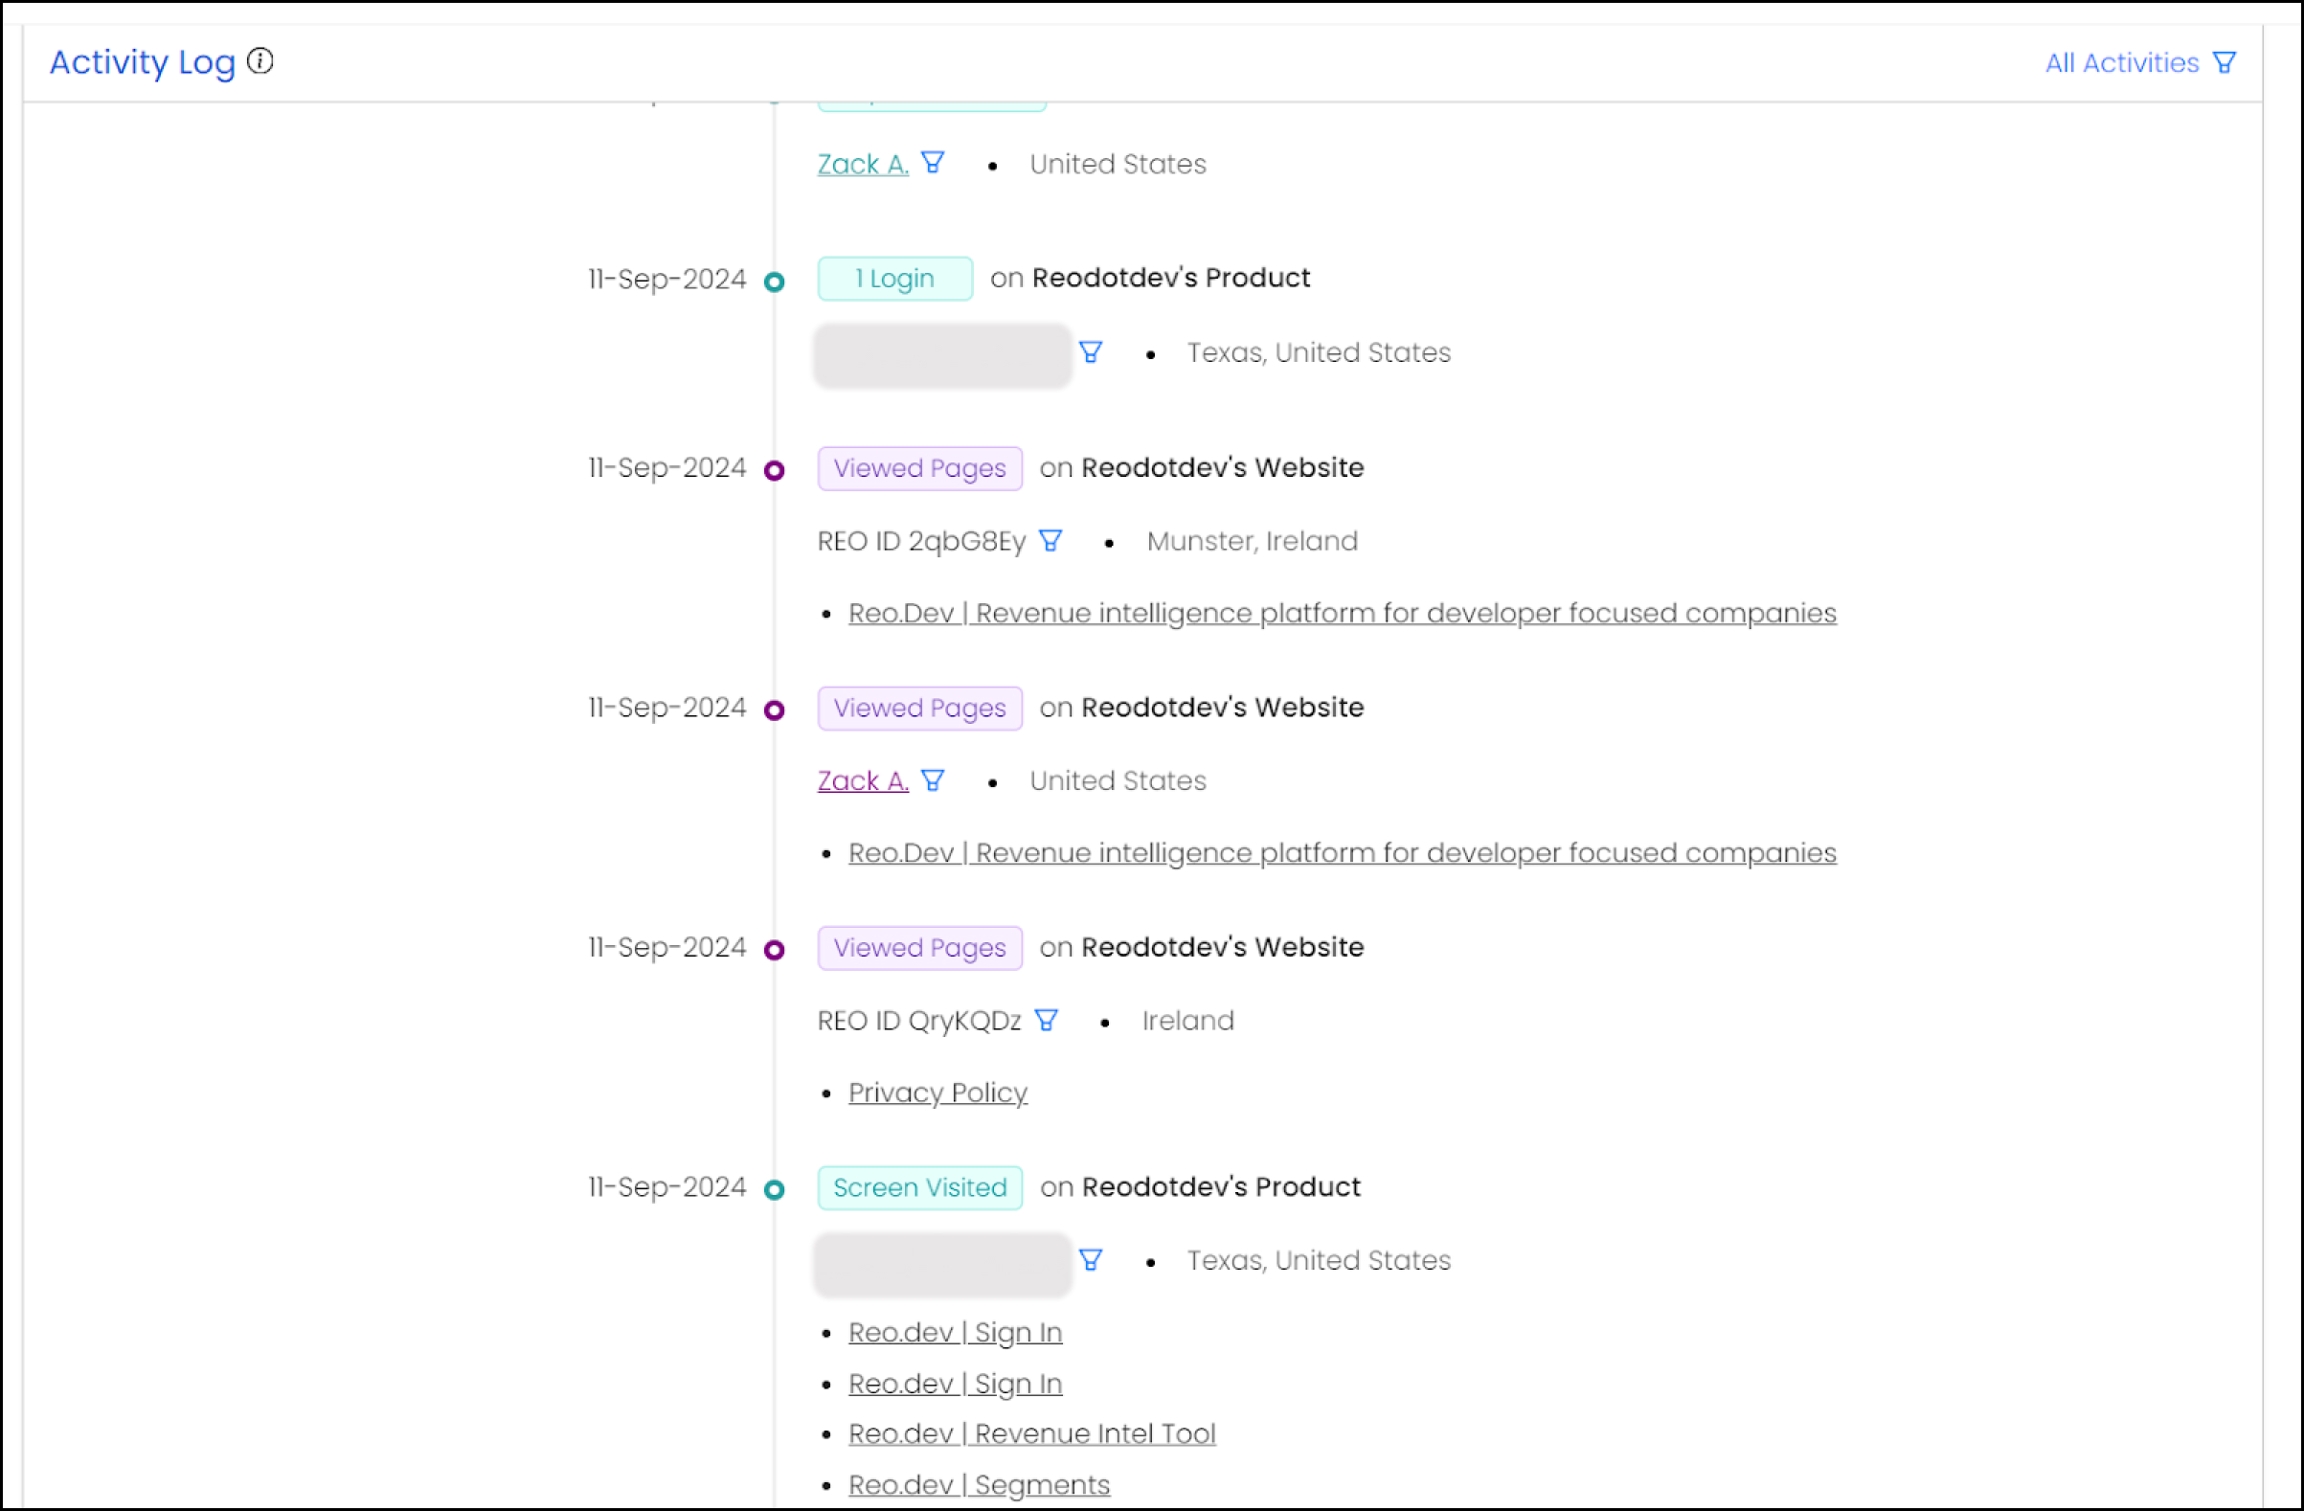
After the data flows into Reo.Dev, the activity logs will display developer actions based on the configured metrics. The timeline will show login activities, page visits, and more, giving you a comprehensive view of developer behavior.

Step 5: Creating Segments for High-Intent Accounts
Reo.Dev allows users to create custom segments based on the product usage data. Here’s how:
Navigate to the Segments section.
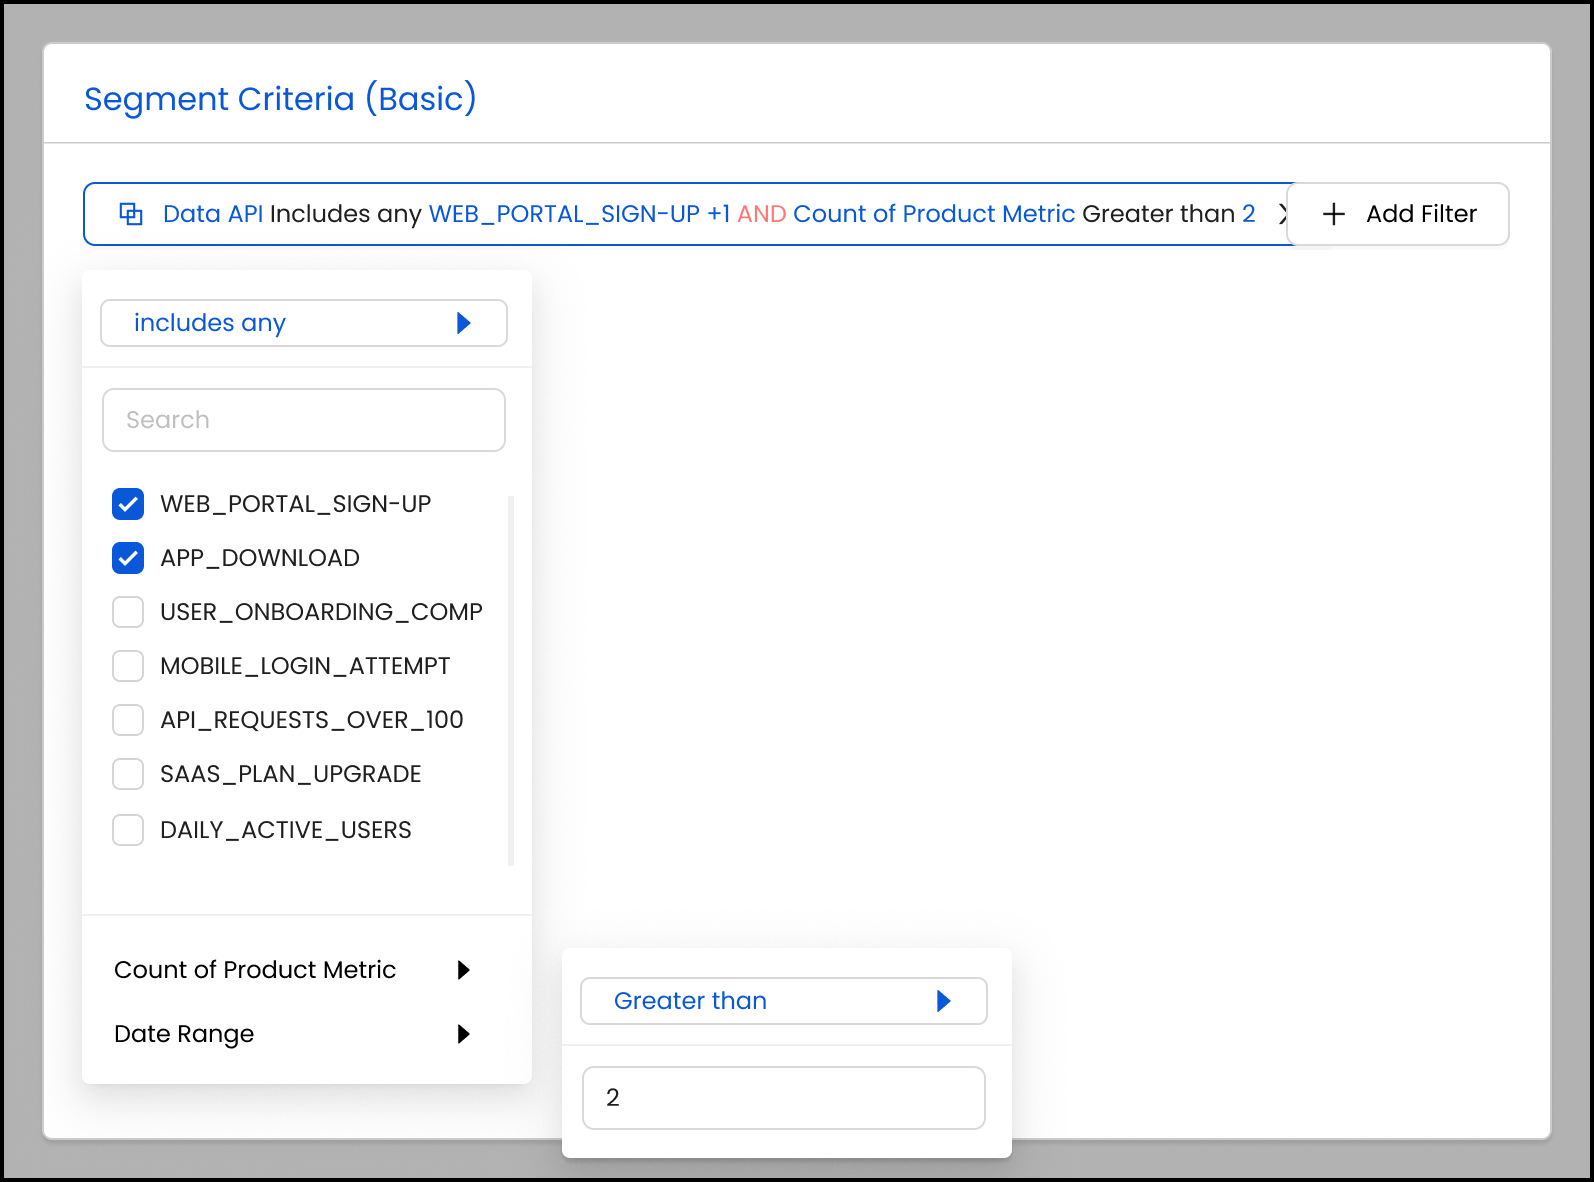
Choose the Data API Filter:
Data API Includes:
WEB_PORTAL_SIGN-UPCount of Product Metric Greater Than: 2
This helps surface accounts or developers who meet specific criteria, enabling targeted outreach.

Conclusion
By configuring custom metrics and leveraging Reo.Dev’s Product API, teams can capture and interpret key developer signals. This capability, combined with segmentation and timeline insights, equips sales and marketing teams with actionable data to drive targeted engagement and conversions.
Last updated
Was this helpful?

