Customizing Tags
This guide explains how to customize tags in Reo.Dev, a feature that allows for quick filtering and prioritizing of accounts based on your predefined criteria.
Customizing Tags While Creating a Segment
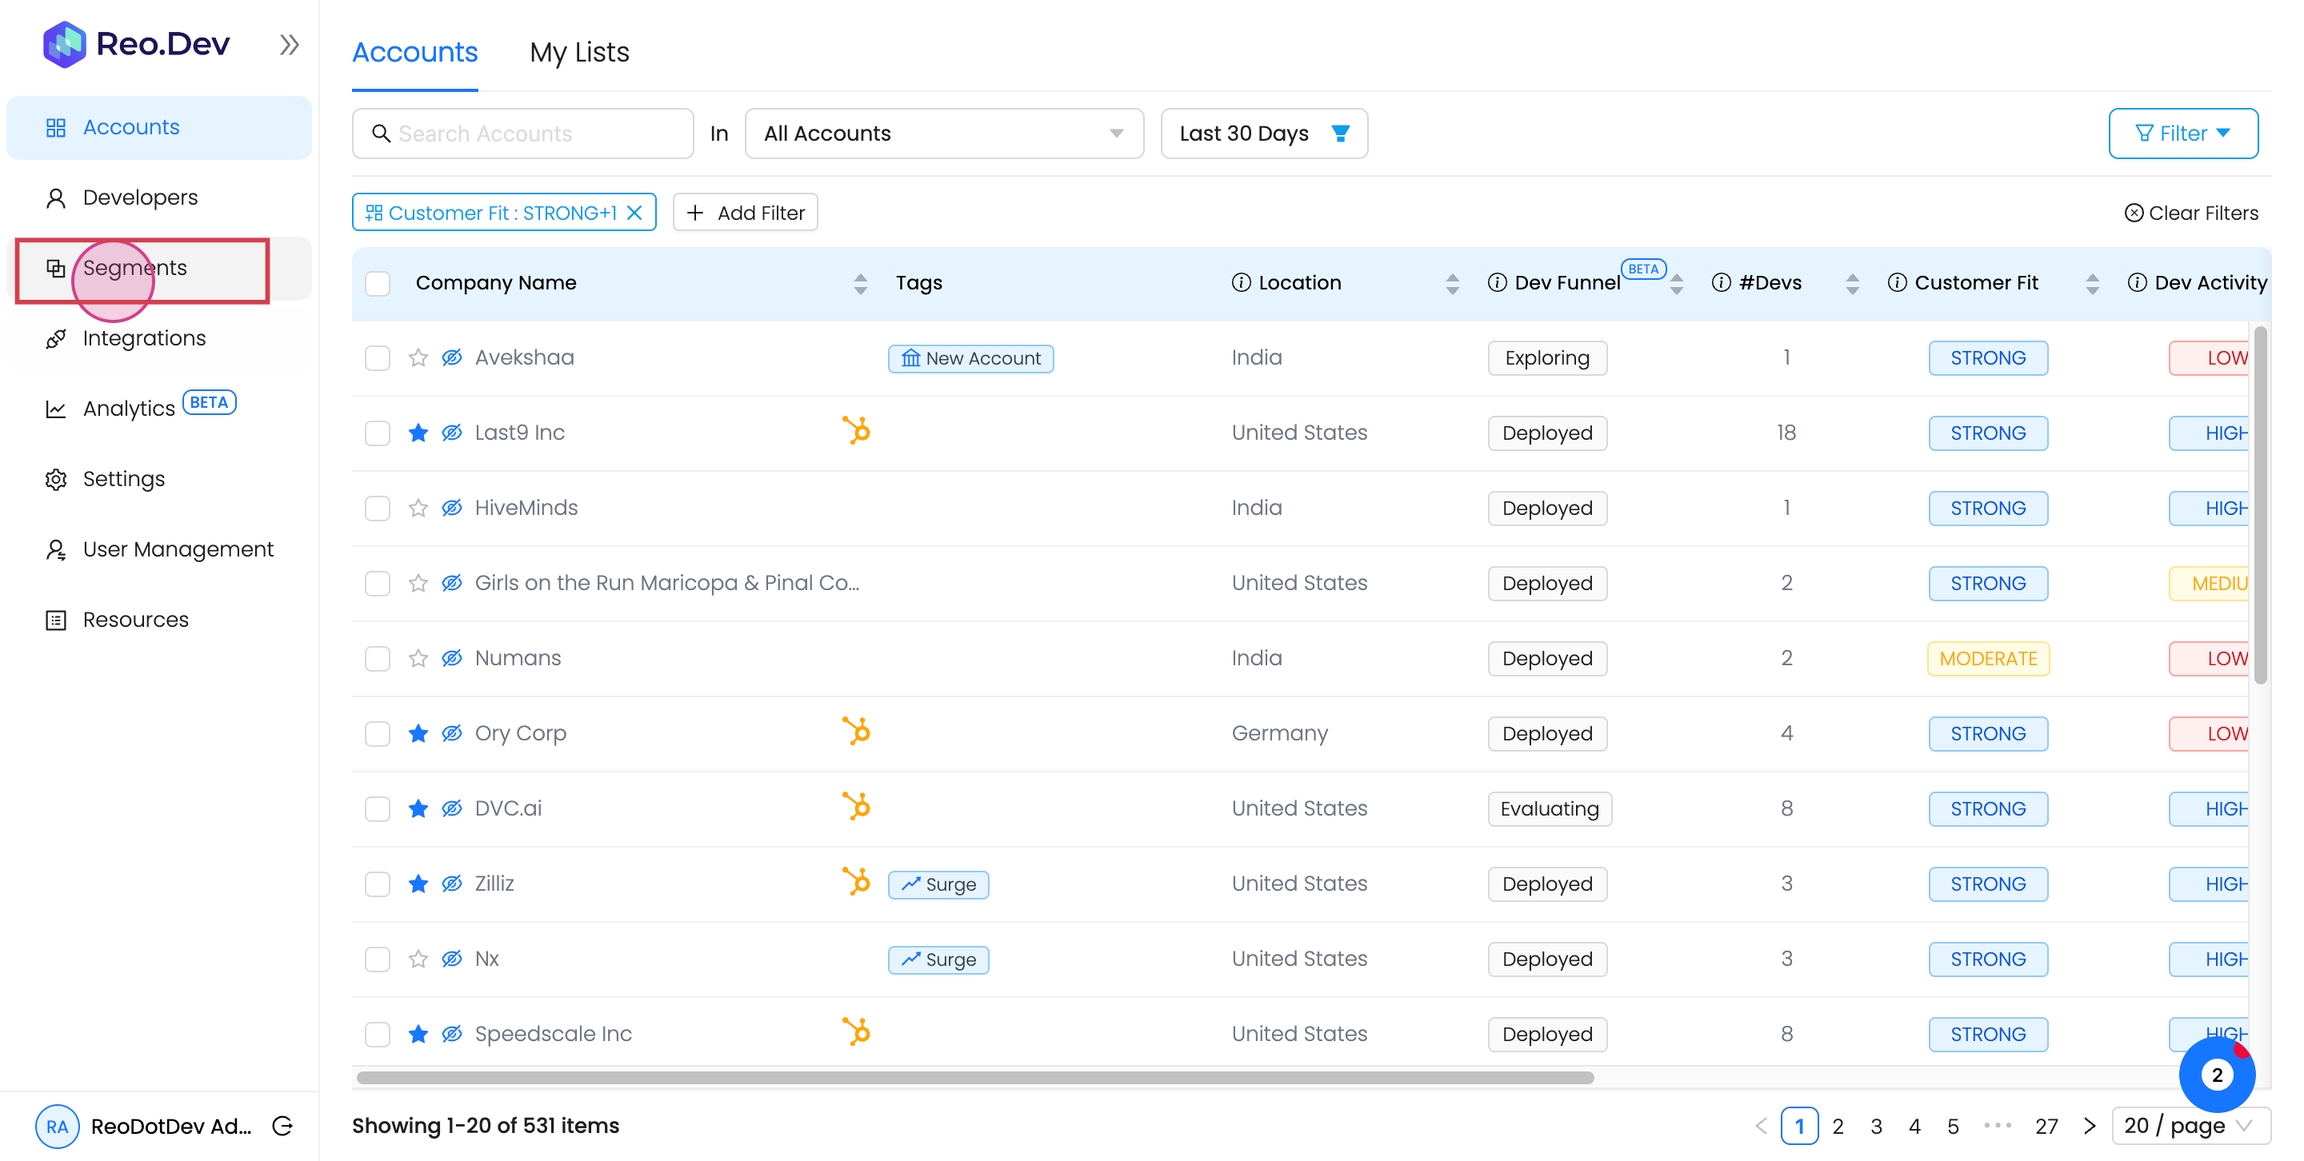
Step 1: Click on Segments on the nav bar.
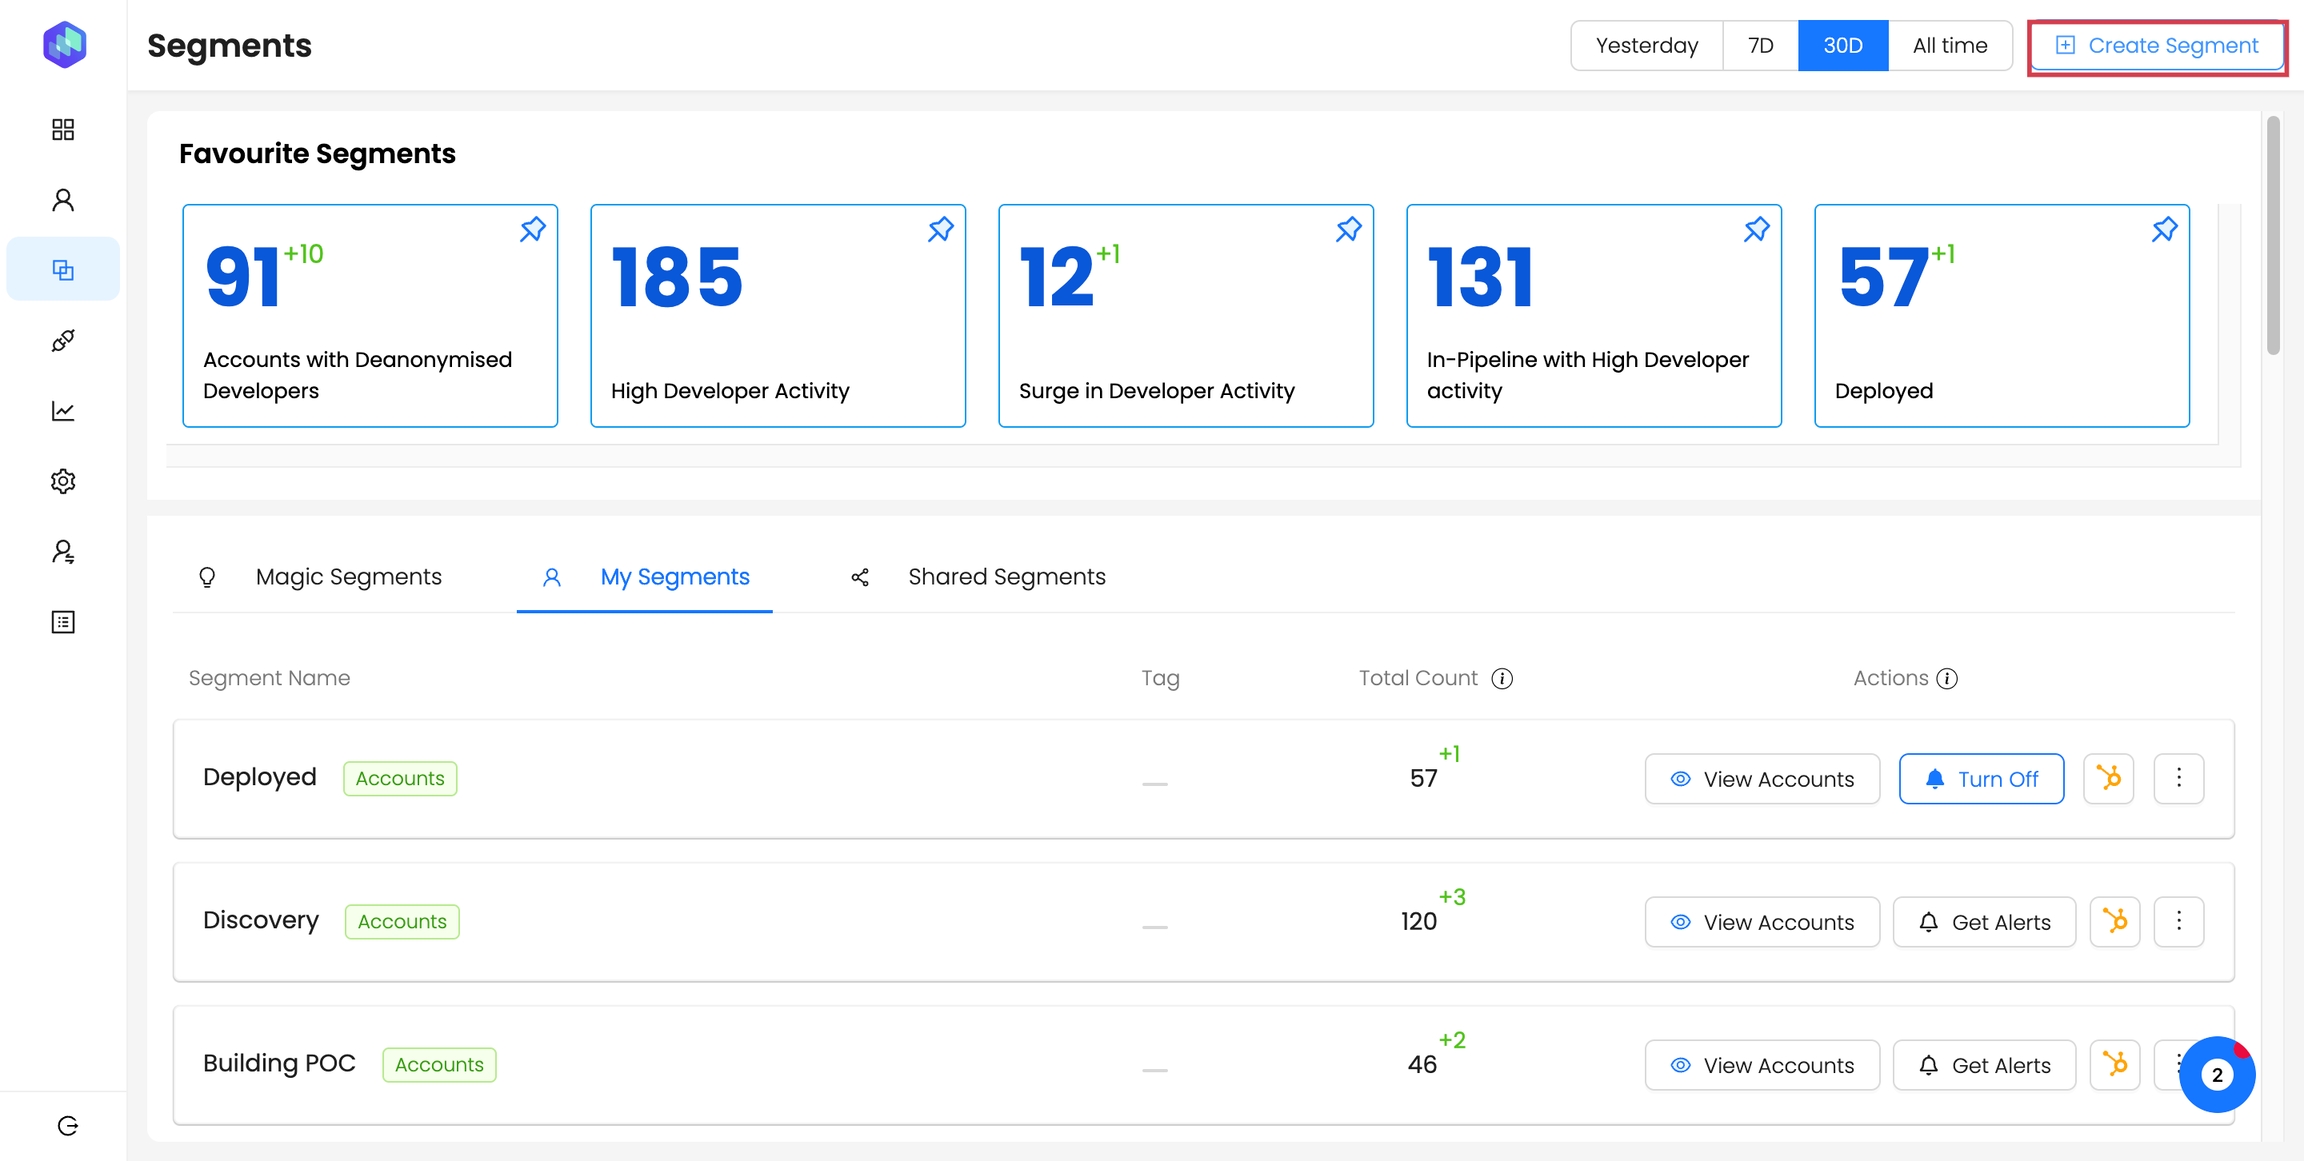
Step 2: Select Create Segments.
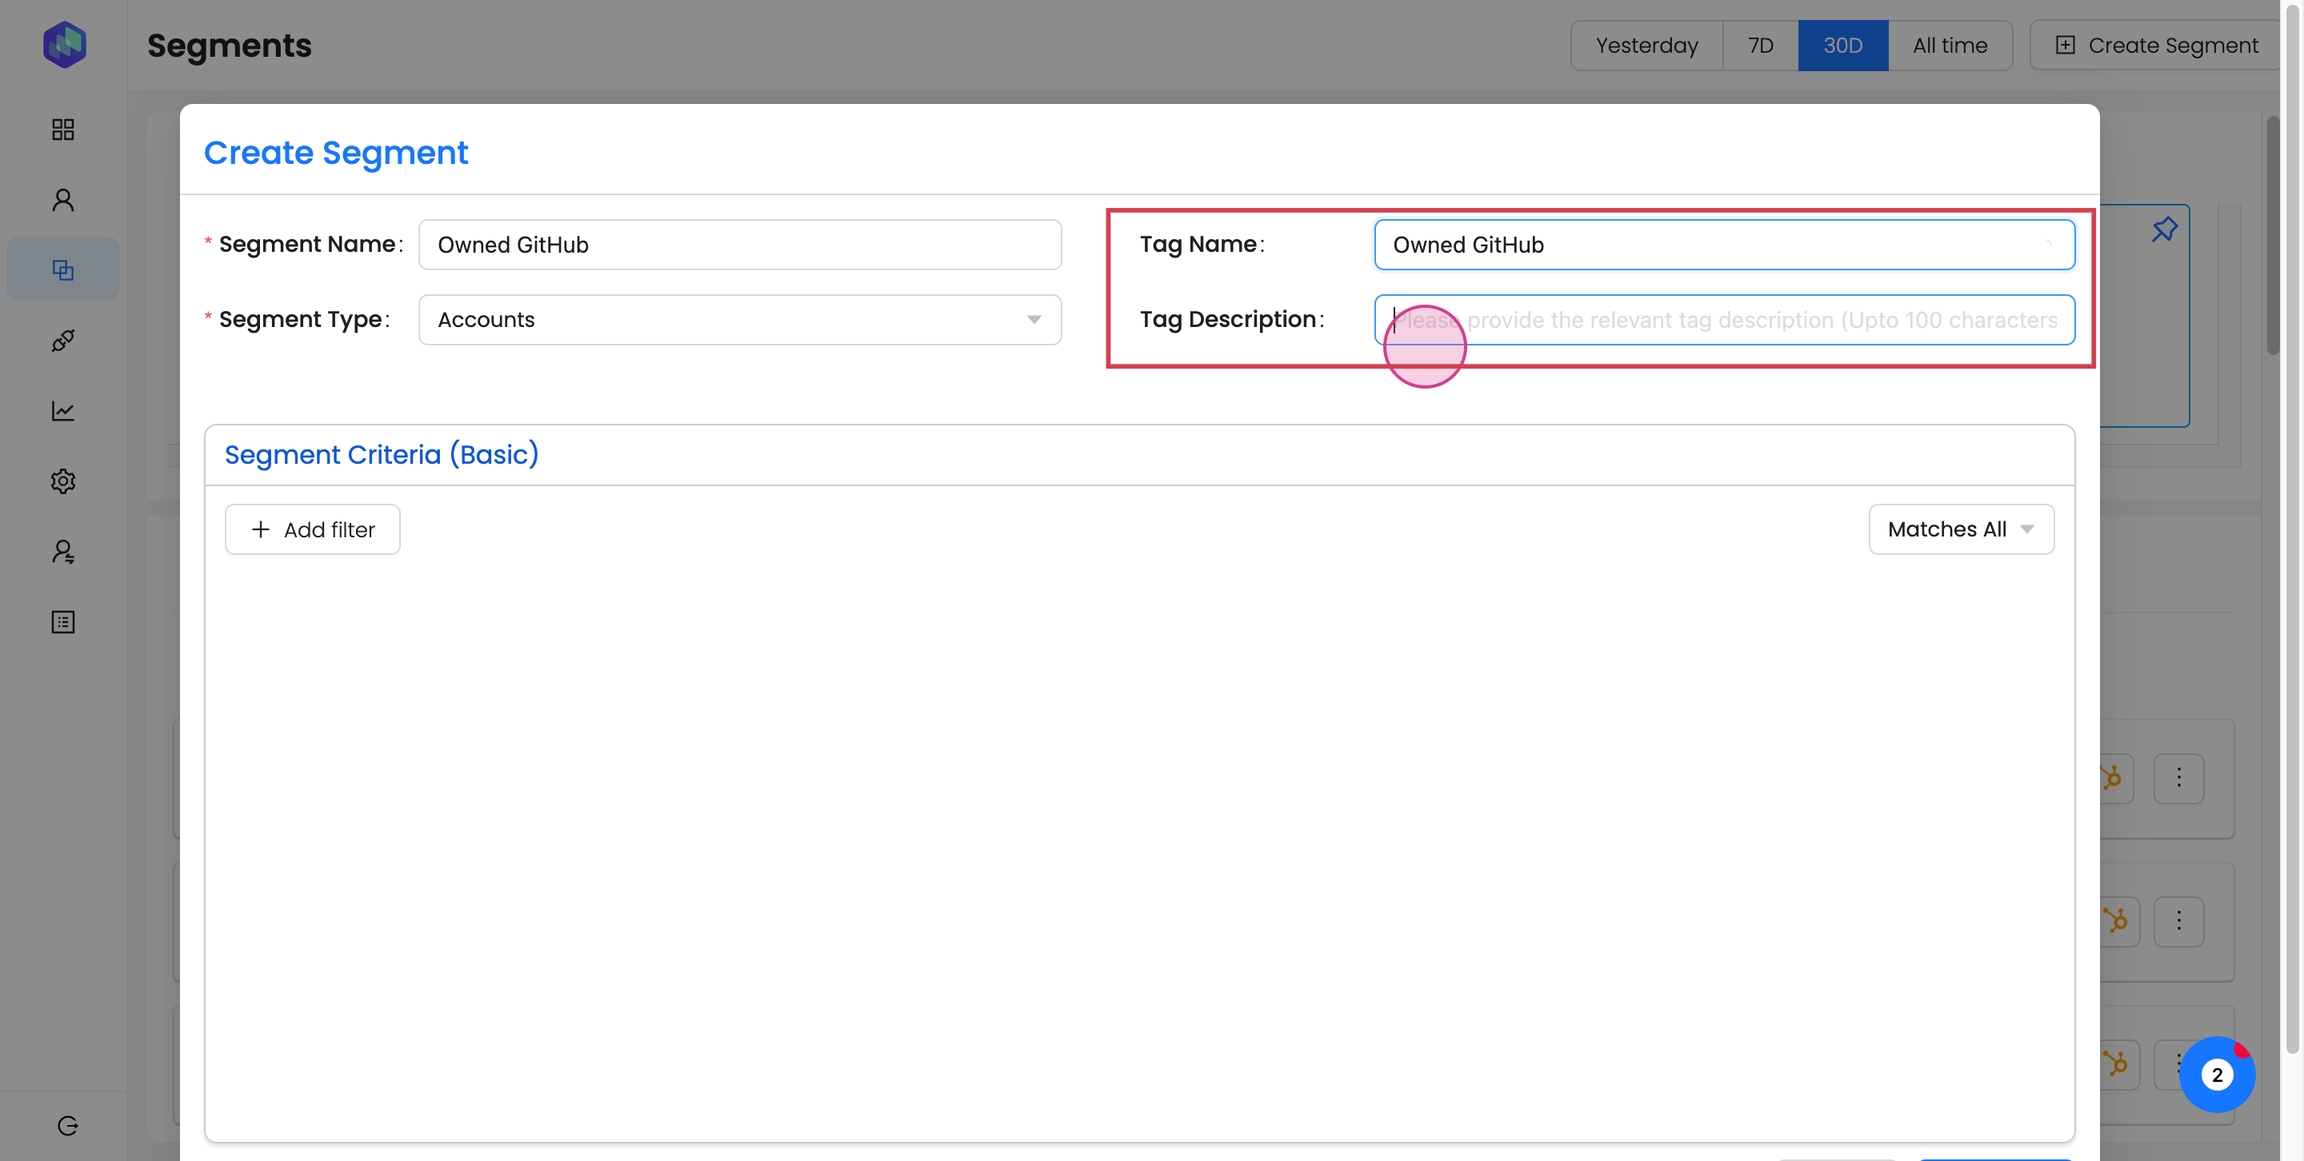
Step 3: Add the tag name and tag description. The tag name, which can be up to thirty characters, will be visible in the account developer account, the developer list, and the segmentation filter.
Provide a tag description up to hundred characters. This will be displayed when a user hovers over a tag name.
Step 4: Define the segment criteria and save and exit.
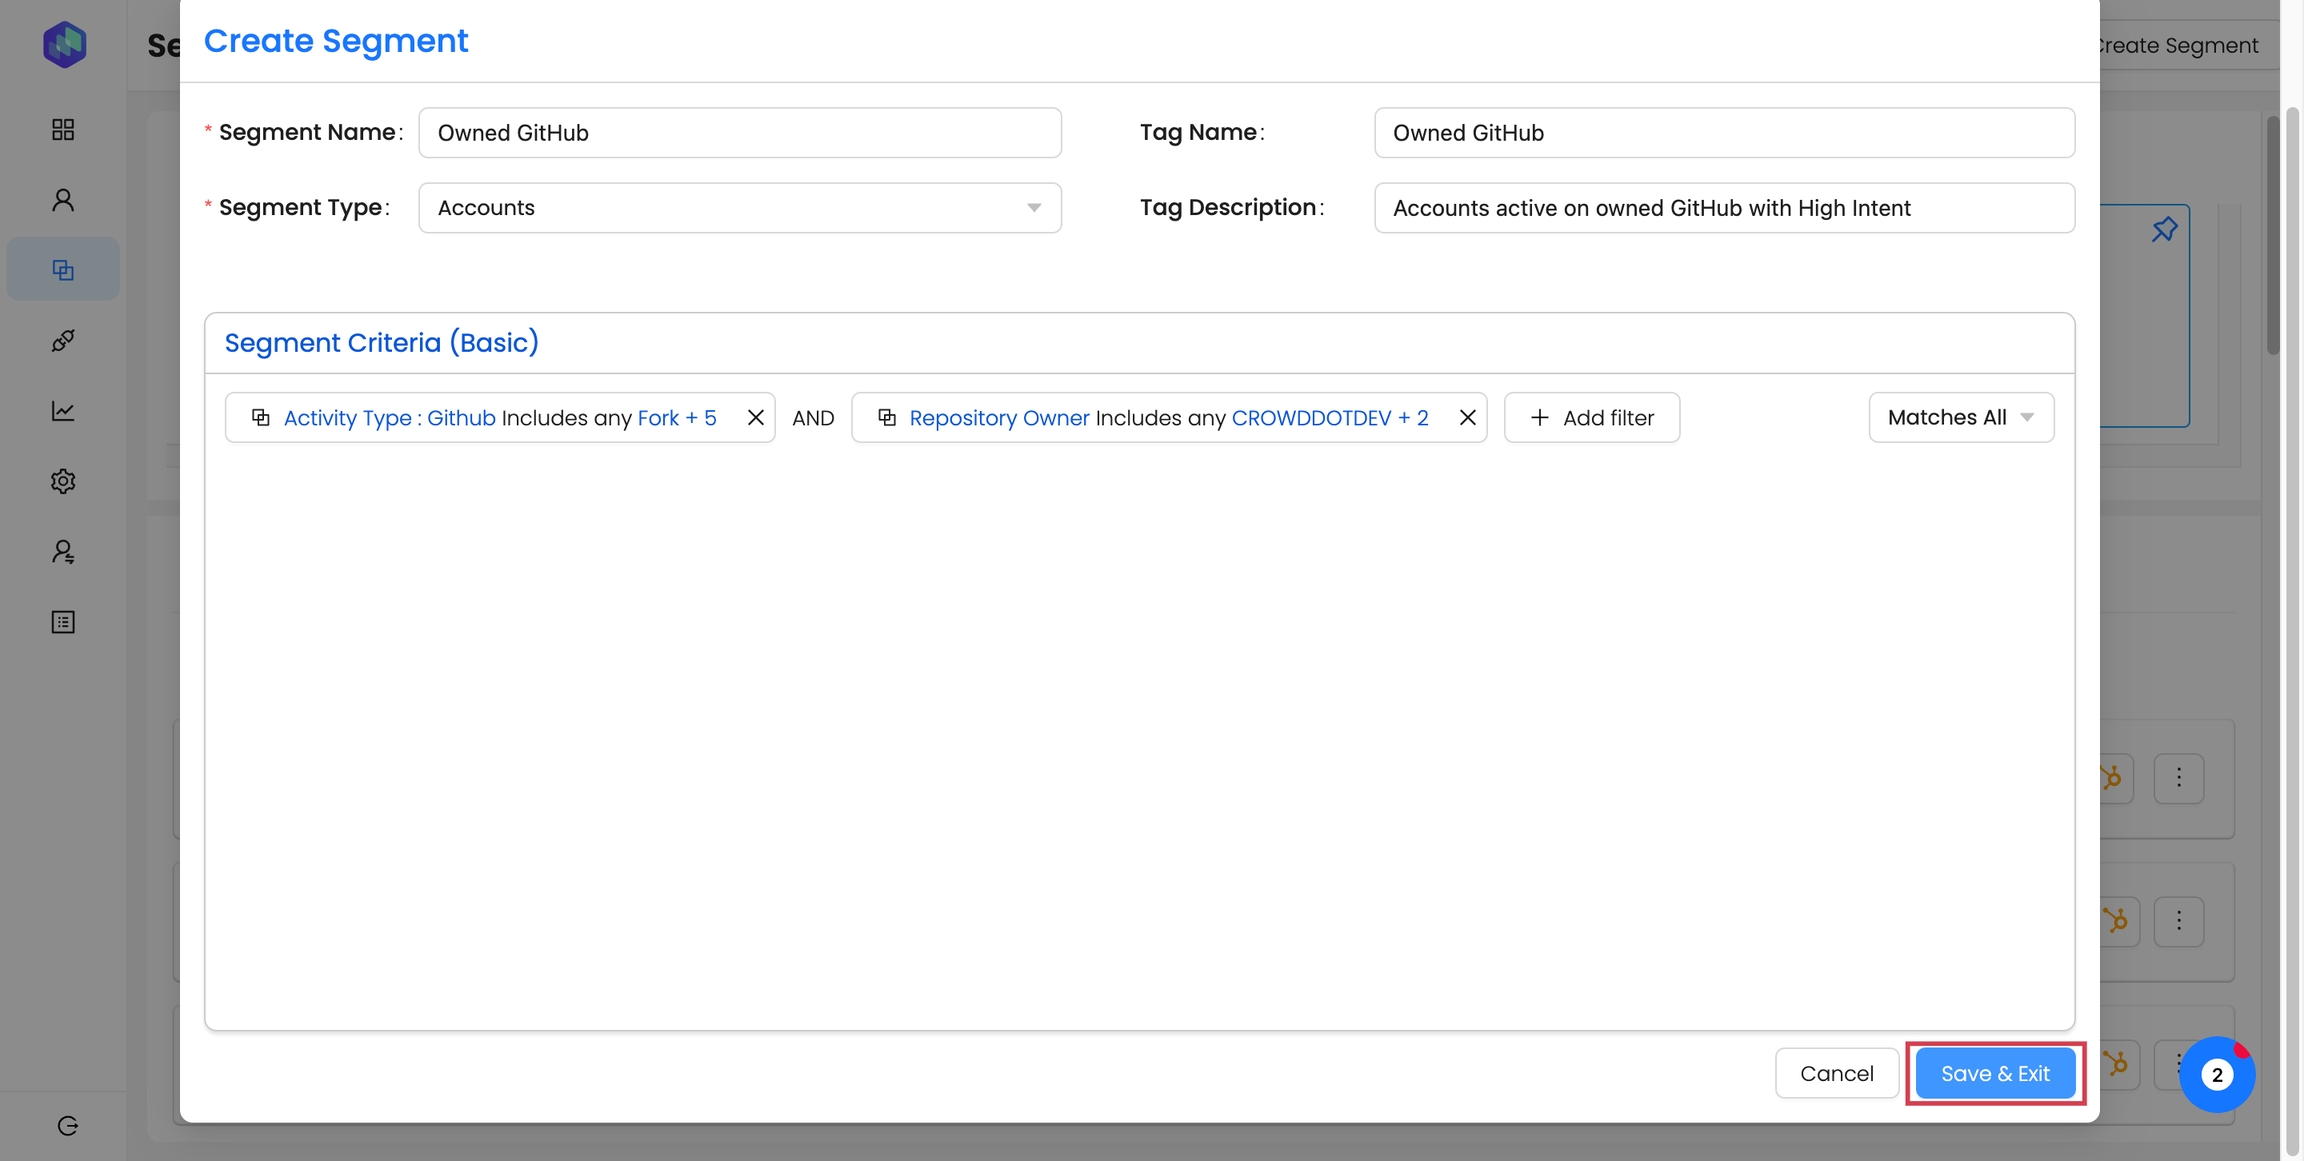
After creating an account segment, the account tags will display for all accounts matching the criteria. Similarly, for a developer segment, the tag will display for all developers matching the criteria.
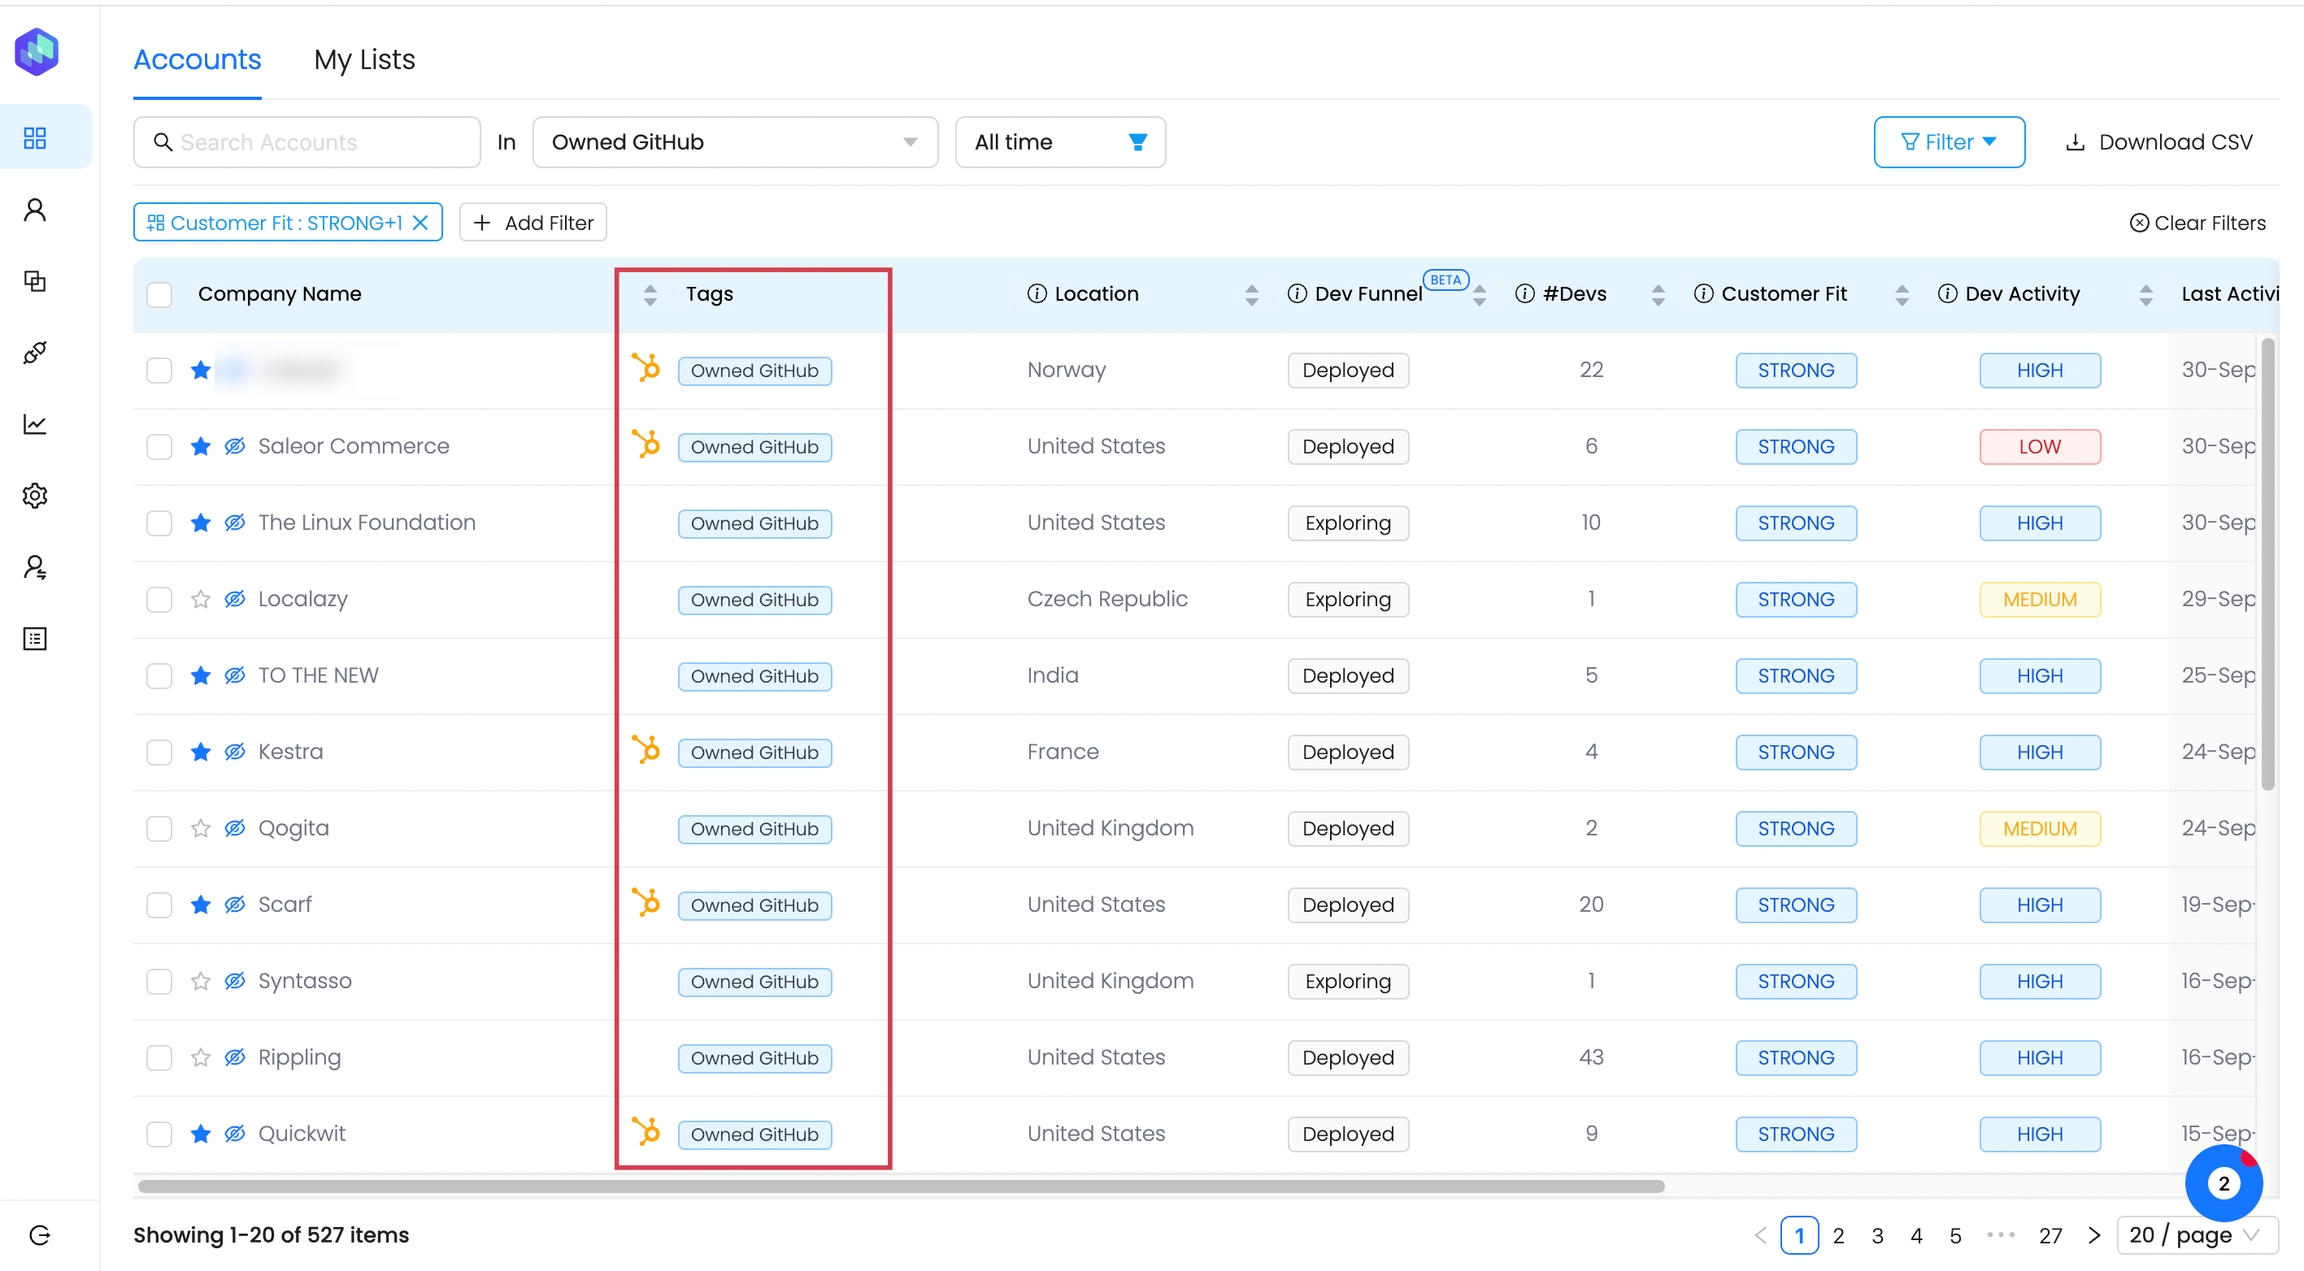
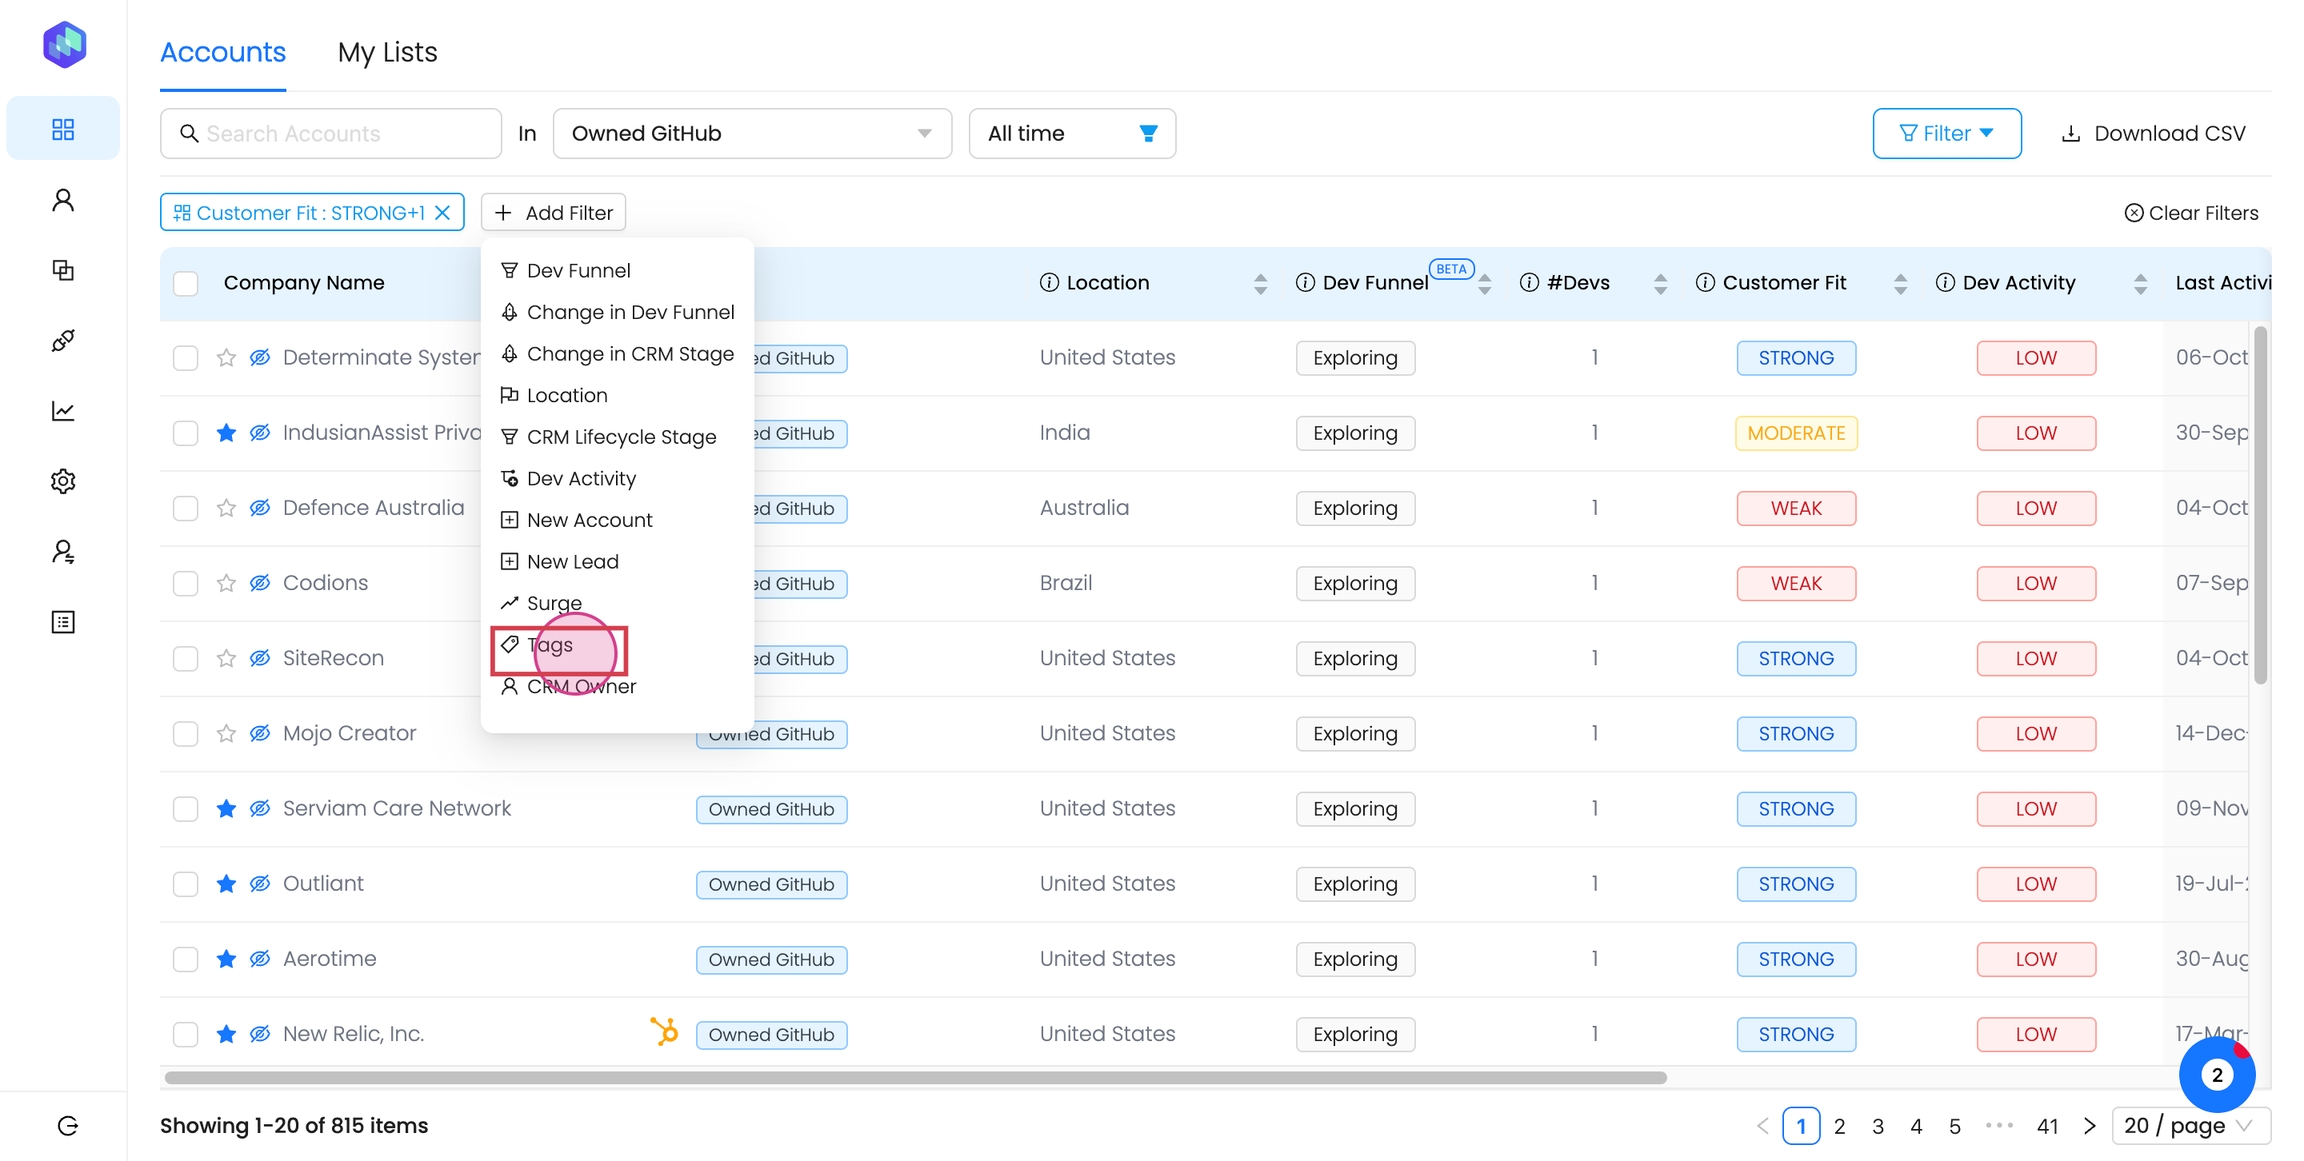
Use the Tags to quickly filter the accounts or developers in the list.
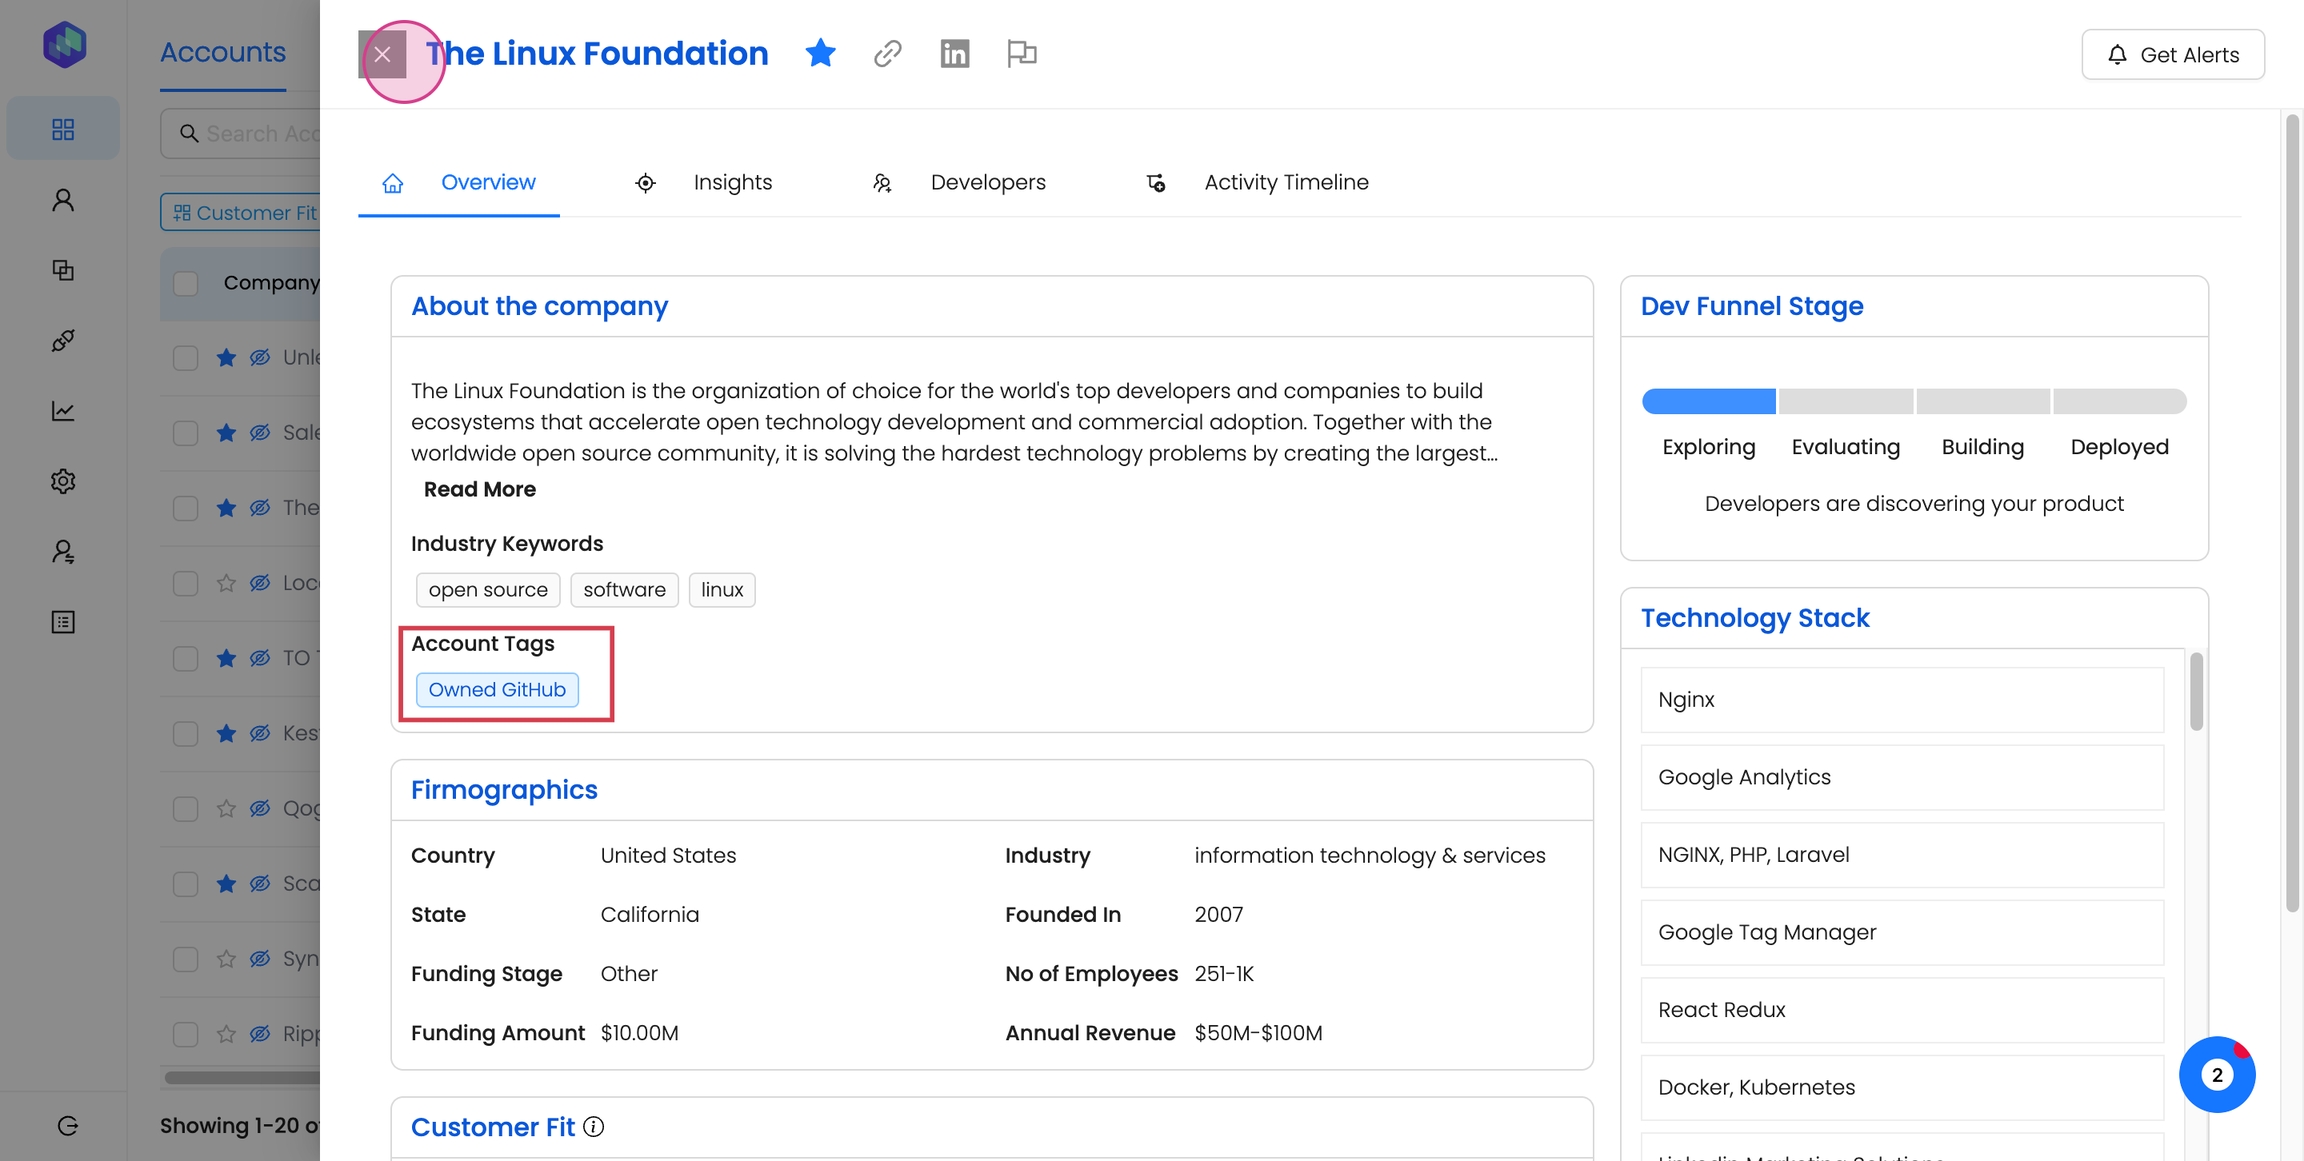
You can view the tags associated with an account or developer on their respective details page.
Last updated
Was this helpful?

